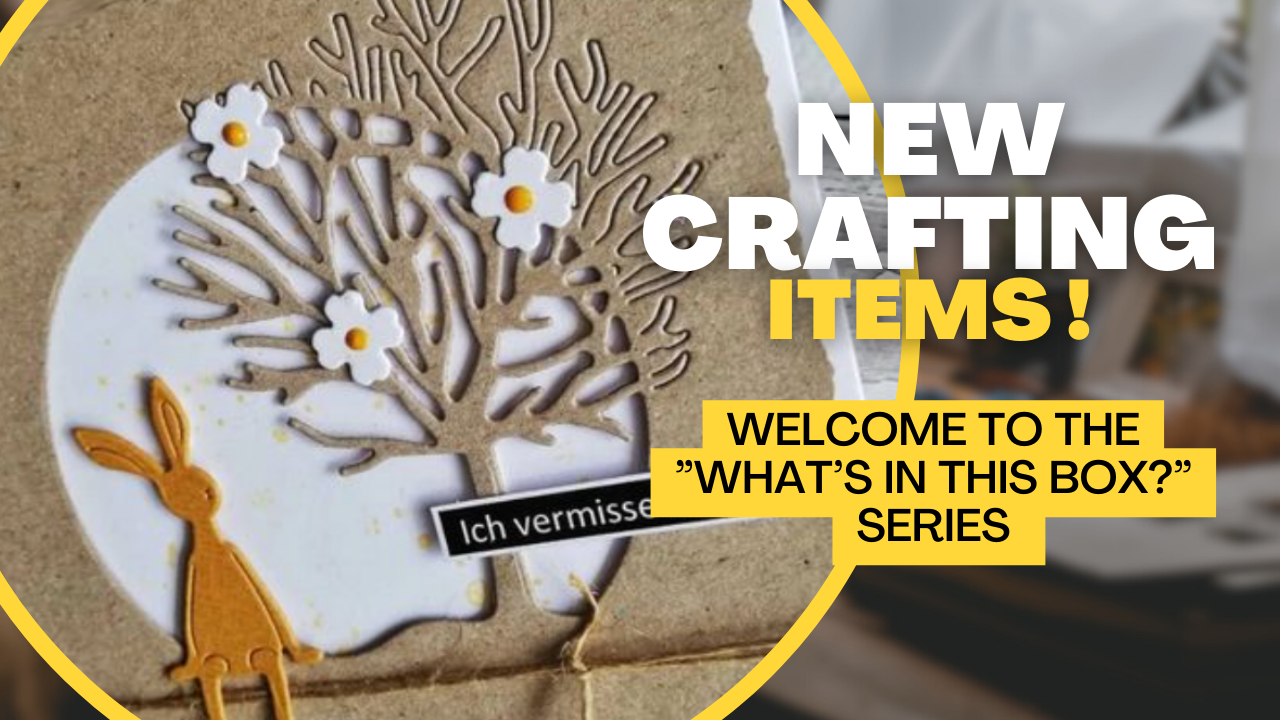
Rice paper is very thin paper and amazing for decoupage. Stamperia and Ciao Bella have very nice designs, and another great manufacturer for thin paper (called collage paper) is Tim Holtz (as seen on the front picture).

Rice paper by Stamperia. From this....

...to this:

How do you create such a tray?
I started with a normal wooden tray. I took off the handles (just unscrewed them) so that I could paint the tray easily. If you like you can prime the tray with Gesso first, this way you won't need as much paint. Color wise, I like chalky paint and a color that fits to the design of the paper that you want to use.
Then I added Mod Podge Matte to the bottom. I poured a little bit in and then smoothed it out with a brush until I had a nice and even cover. Next, I carefully placed the rice paper in. If you have any bubbles, use an old gift or credit card to smoothen out the paper. I also added a thin layer of Mod Podge on the top of the paper.
Then I used a sealer (Dura Clear Varnish Gloss) to seal the tray. (I just poured a little bit on the wood and brush it out.) Your project could be finished at this time - or
Pour resin onto the rice paper for a nice shiny effect and thicker inside tray.
I used Mod Podge Resin, it's a 2 part resin. Be careful: Resin is very smelly and toxic when liquid. After it hardened it's fine, even food safe. But whilst using it: Only work in a well-ventilated area. I even wear a Respirator mask to avoid any fumes. I also wear protective latex gloves and clear goggles, just in case I splash around. Always protect yourself first when using alcohol inks and resin - and then have fun!
Depending on the tray size, you need to estimate how much resin to mix. I used half the bottle of part A and half the bottle of part B - for a nice thick cover. To know if I used the exact same amount of each bottle - I weighed each part. Then I stirred them together for 3 minutes in a paper cup and poured the mixed resin into the form.
The resin is designed to level itself and it worked perfectly. If you see any bubbles forming, you can use a heat tool to pop them. The resin takes a while to harden, about 12-24 hours (so try to put somewhere safe from dust and people accidentally touching it).
This is the result, nice and shiny...